
Disclaimer: There are affiliate links in this post. This means that at no cost to you, I will receive a small commission if you purchase after clicking my link. I only promote products and services that I have researched and from vendors that I trust. Thanks for supporting my business.
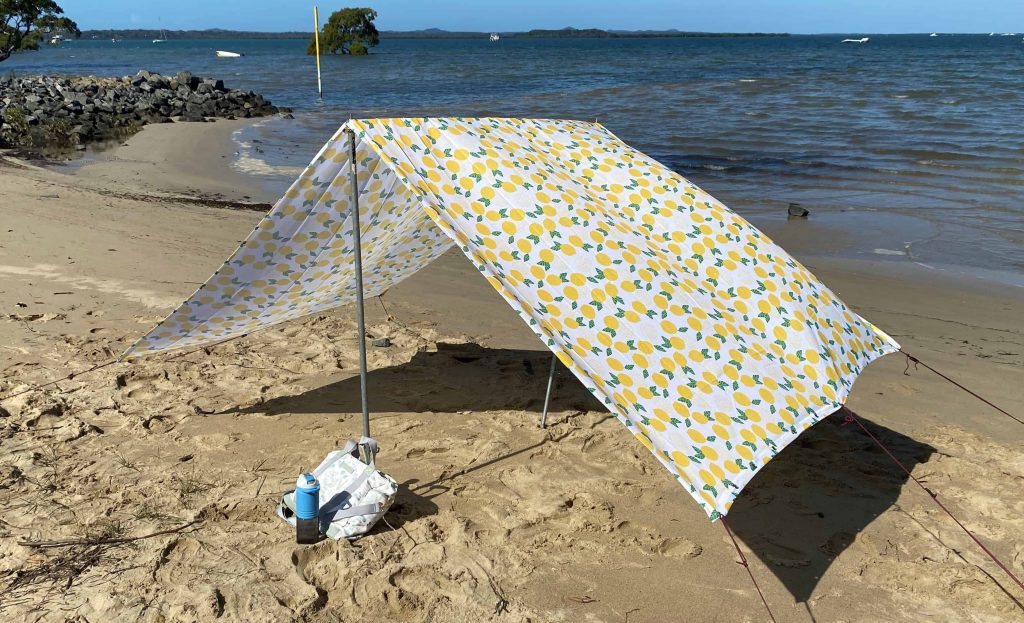
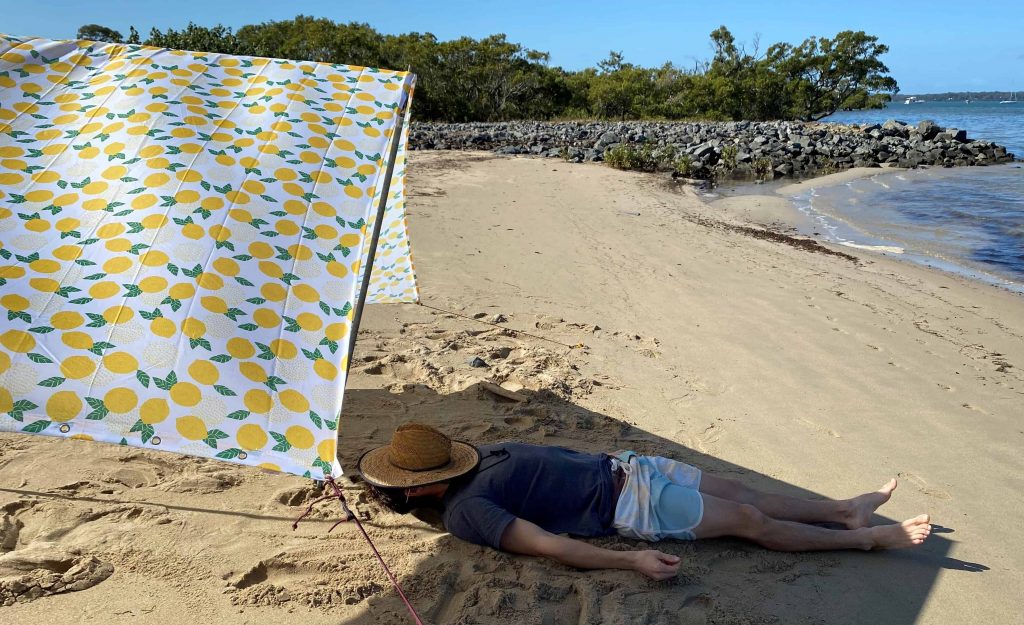
While there are a heap of reasonably priced beach shelters on the market, there is nothing like the satisfaction of knowing that you can make something yourself. I made this DIY beach shade for under a $100, and if I can make it with my DIY skills, anyone can! After testing it I’ve found that it’s quite sturdy and will put up with a decent amount of wind. In this article I’ve laid out the materials you need, how to put it all together, and how to set it up at the beach. If you prefer to watch rather than read check out the video instead.
What you need:
- 2 x Tent poles. My Dad gave me two steel camping tent poles that he had spare, which are about $10-20 each new. Or you could get lighter aluminium ones like these that pack down.
- 2 x 1m PVC pipes. I’ve used 15mm and 20mm diameter pipes so that they can slot into each other, which means I don’t have to carry a 1.8m piece of pvc. Typically costs around around $5 to $10 per metre. If you are after a more sturdy structure, I would use an aluminium rod instead of pvc. But pvc still does the job for gentle wind settings.
- 2 x standard shower curtains (72 sq inch / 180sq cm). I spent $50 on shower curtains with a nice print, but if you’re not that fussed about the looks you can find them really cheap (like these).
- Rope – I had some old tent guy line cord lying around, but you can buy basic nylon cord from most hardware or camping stores.
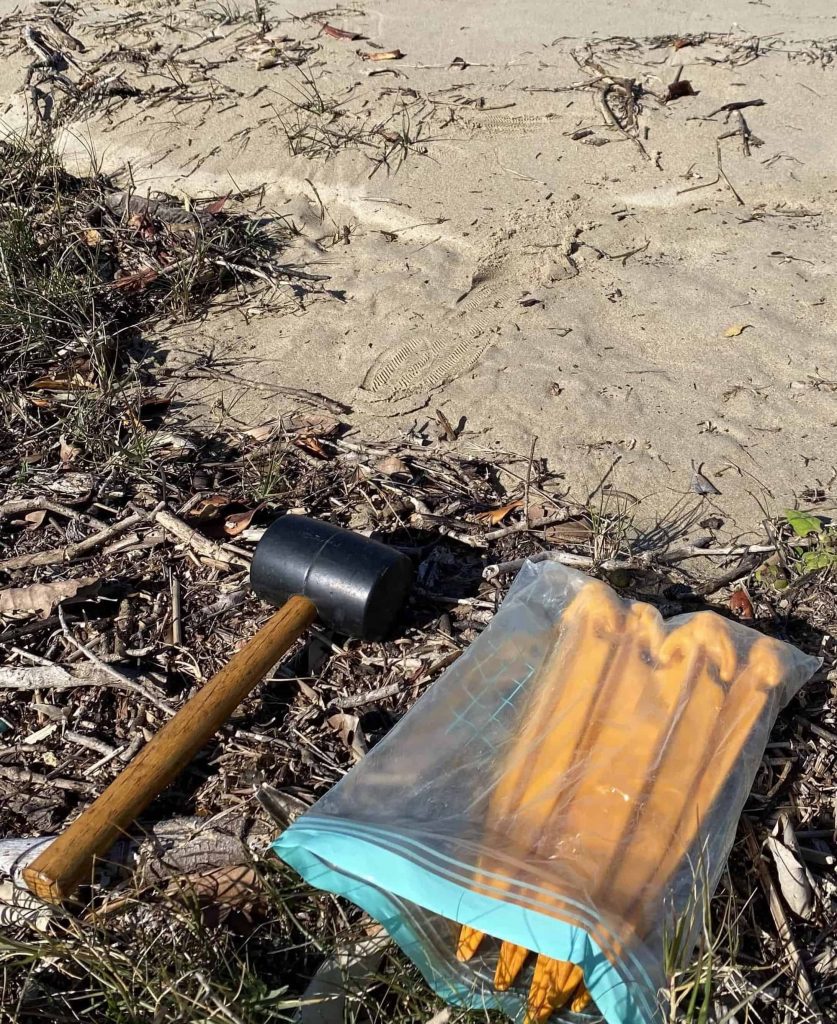
- Sand stakes/pegs – There are a heap of different types of these. If you need ideas I’ve reviewed some here.
- Grommet tool kit – these are simple little tools that allow you to punch a hole in the fabric, and set it with a nice metal grommet. A basic kit costs around $10-15.
Putting it all together
Here is how I constructed the various components of my DIY beach shade. To give credit where it is due: I took inspiration for this shade from Amanda at Ruffled blog, but I’ve added some tweaks.
Making the shade cover
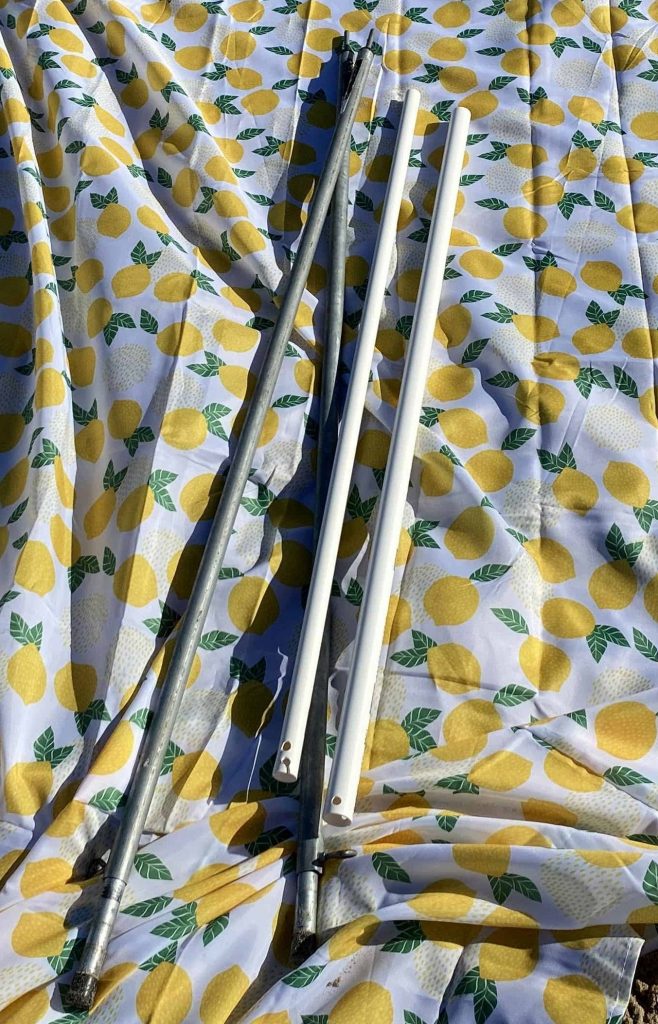
I have no sewing skills, so my awesome Mum sewed the two shower curtains together, so I ended up with a 72 x 144 in (180 x 360cm) piece of fabric (see photo below).
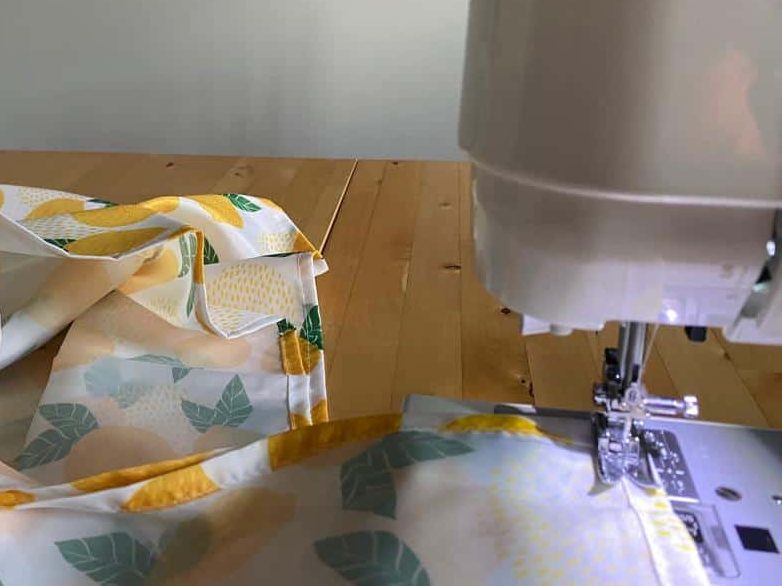
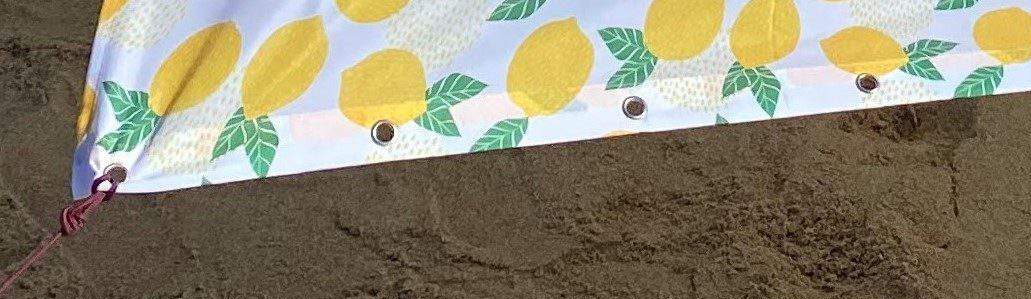
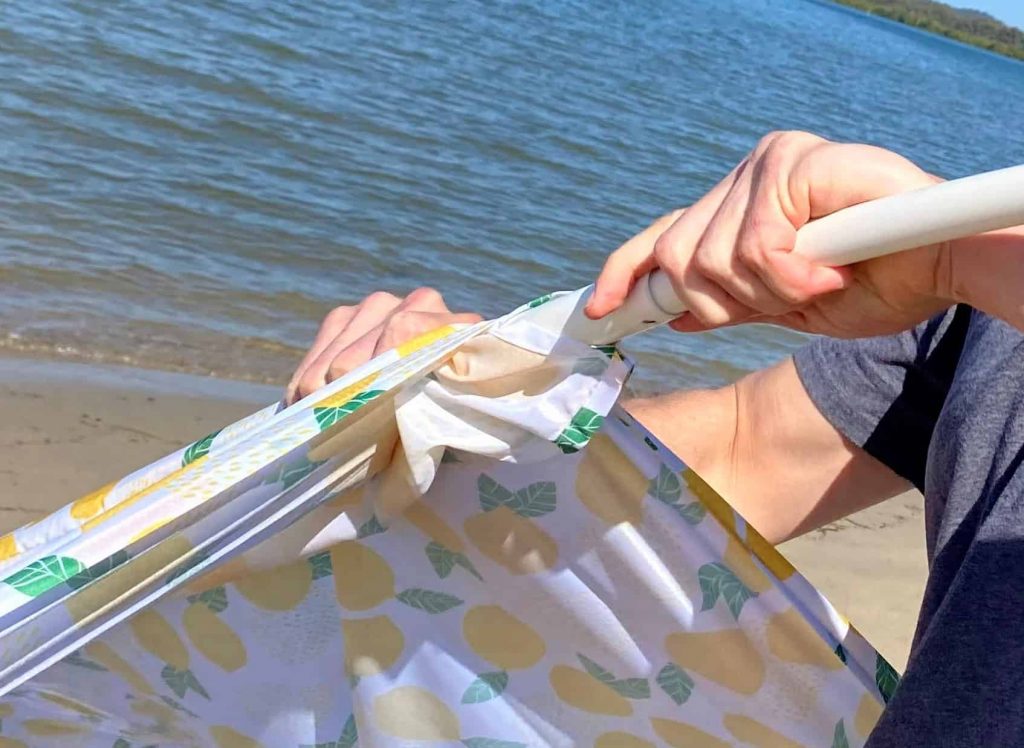
By joining the bottom of each shower curtain together, the the holes that normally house the curtain hooks formed the outside edges of my shade cover (see photo below). These holes are perfect for tie down locations.
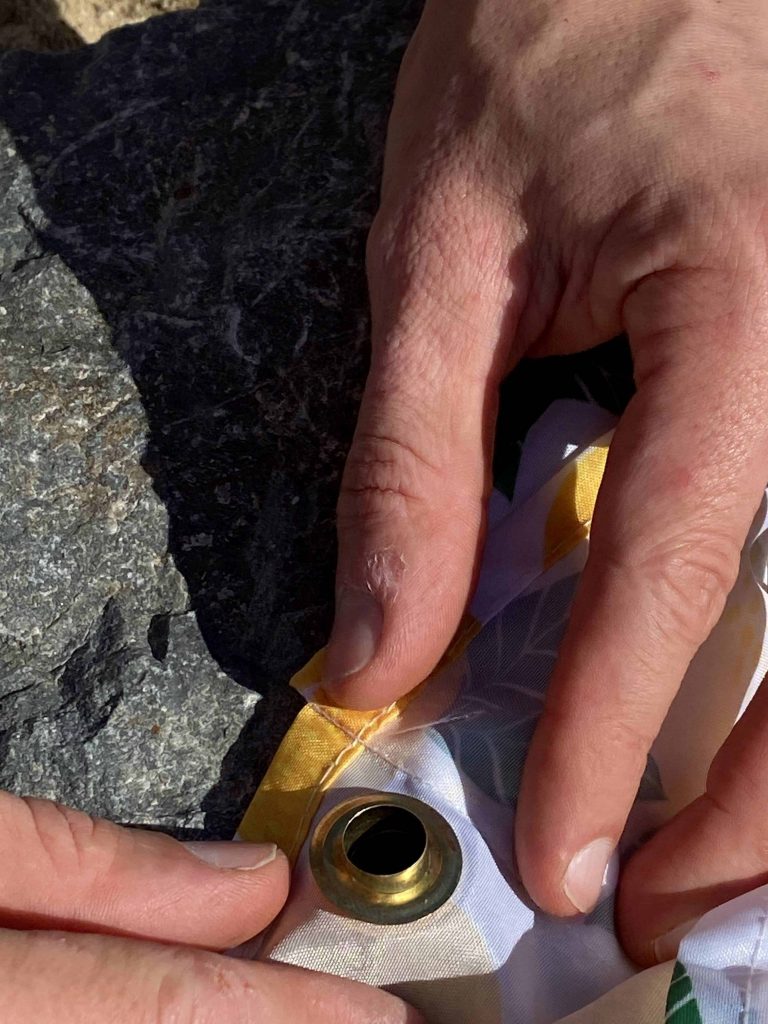
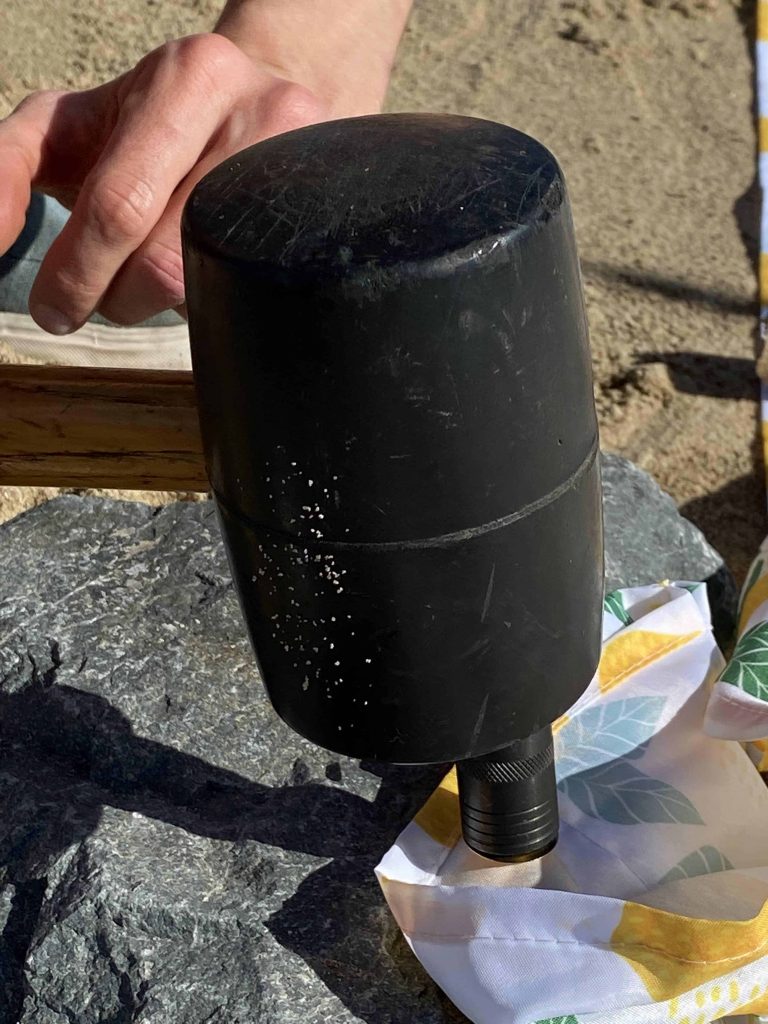
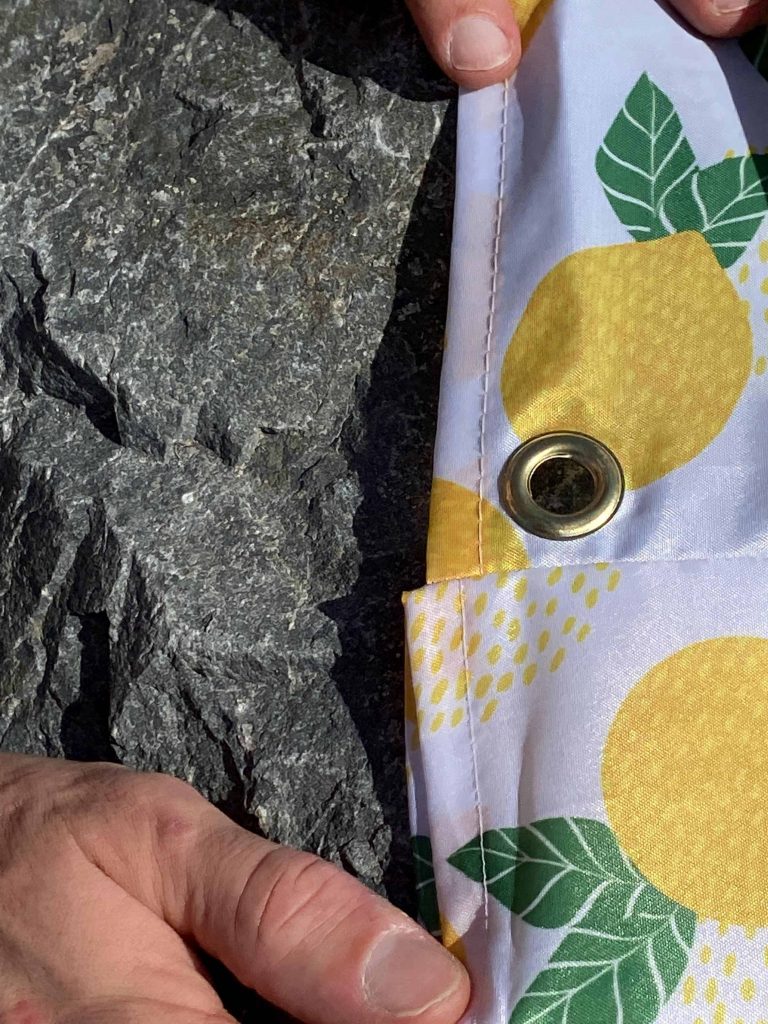
The only grommet holes I had to add were two along the top seam, so that I could hook the cover over the tent pole ends. I’ve shown a couple steps of making the new grommets below. You may want to reinforce any fabric where you have to add a grommet.
Making the top supporting beam
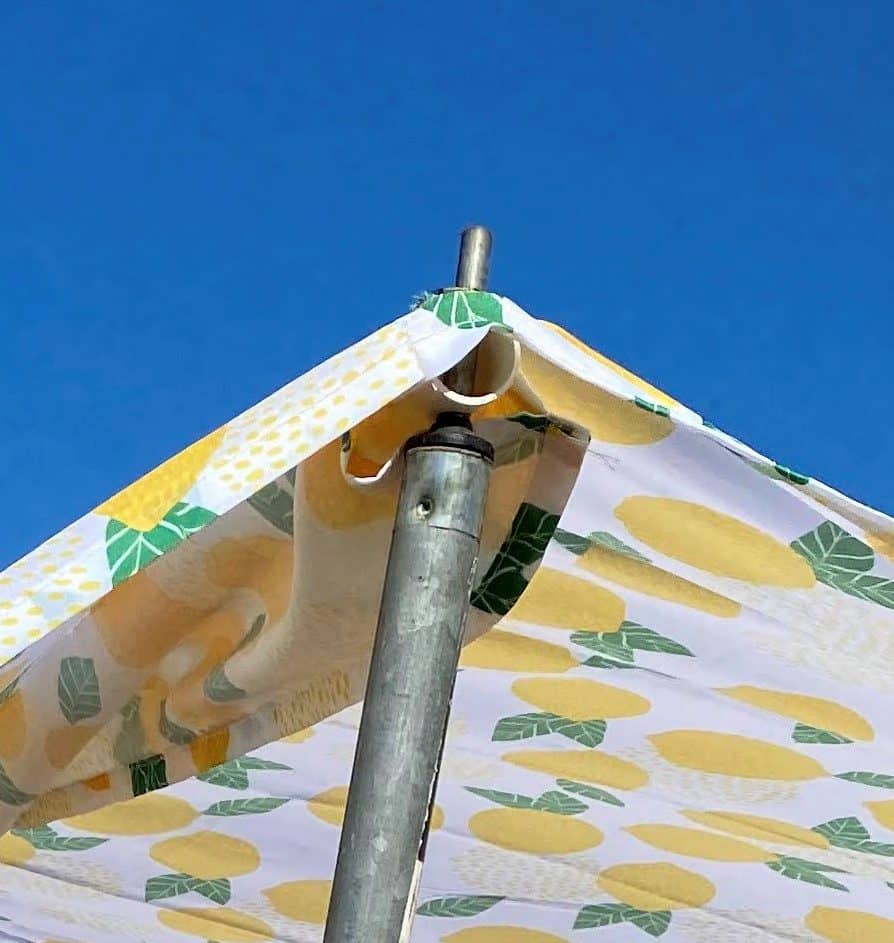
Drill a hole in the end of each of the pvc pipes. I’ve used two pvc pipes of slightly different diameters (15 and 20mm) so that they slide into each other (easier to transport two shorter pieces than one long one). The holes need to be the right size for the tent pole tips to slot into. My Mum came up with the idea of sewing a seam down the middle of the cover which creates a pocket to slide the central pvc pipe down.
Attach rope as tie-downs
Tie some rope to each corner grommet. My rope was from an old tent so it had rope tensioners attached. If you don’t have tensioners, you could tie a tautline hitch knot on the ground end (allows you to adjust the tightness of the knot). You can use any basic hitch or loop to tie the rope to the shade cover.
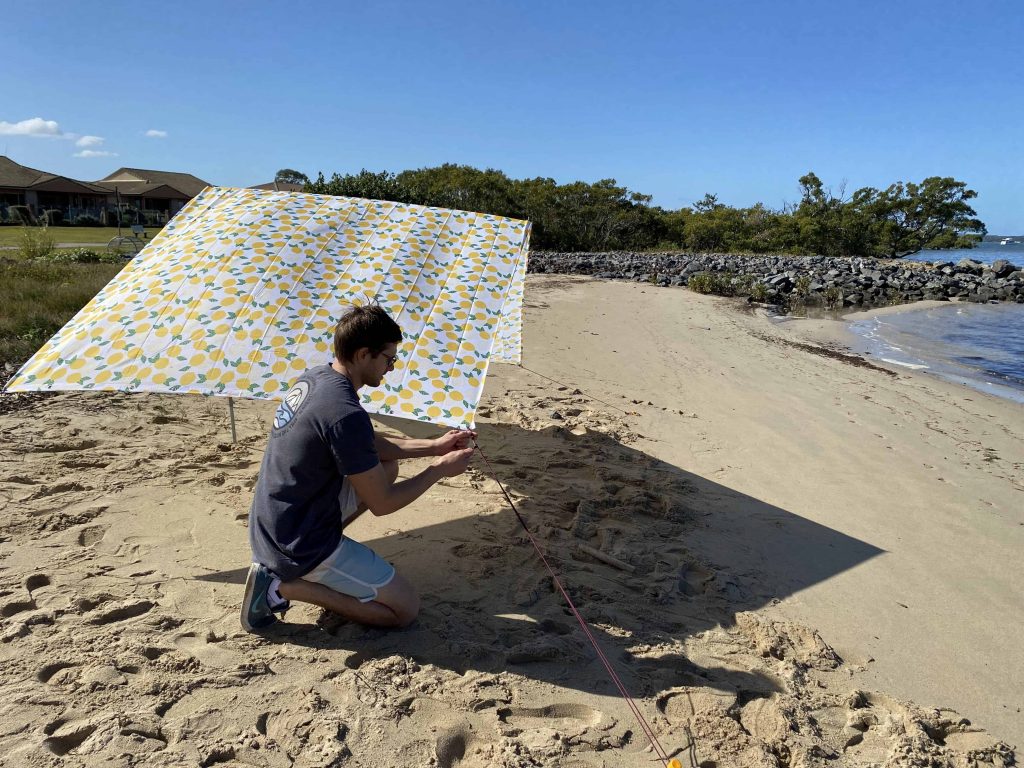
DIY beach shade setup steps
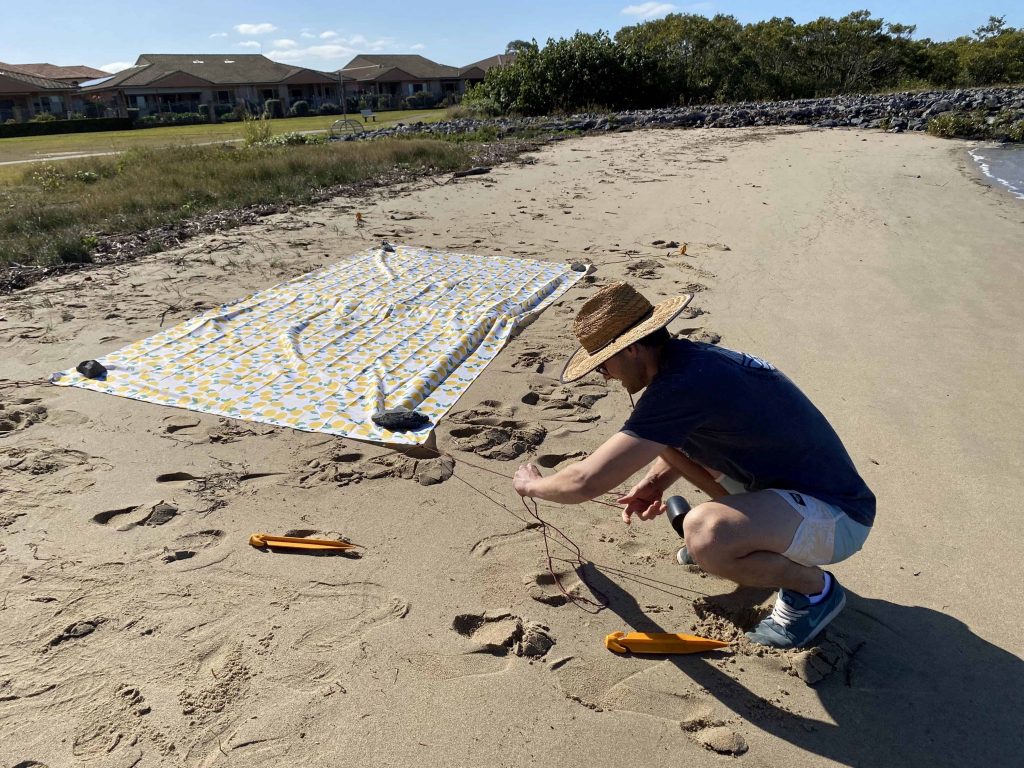
1. Layout the shade cover on the ground, and stretch out the corner ropes with a fair bit of slack. If it’s windy, use something to weight the corners down.
2. Put in the sand pegs in approximately the position you think they will go (you can always move them later).
3. Insert the pvc pipe along the sewn pocket so that a little bit exits on each end.
4. Reduce your tent poles to the smallest length, and then insert it into the hole in the pvc, and then prop it up into a vertical position. Even though the other side is not in yet, you should find a position where it stays up by itself. Walk around and insert the pole in the other side.
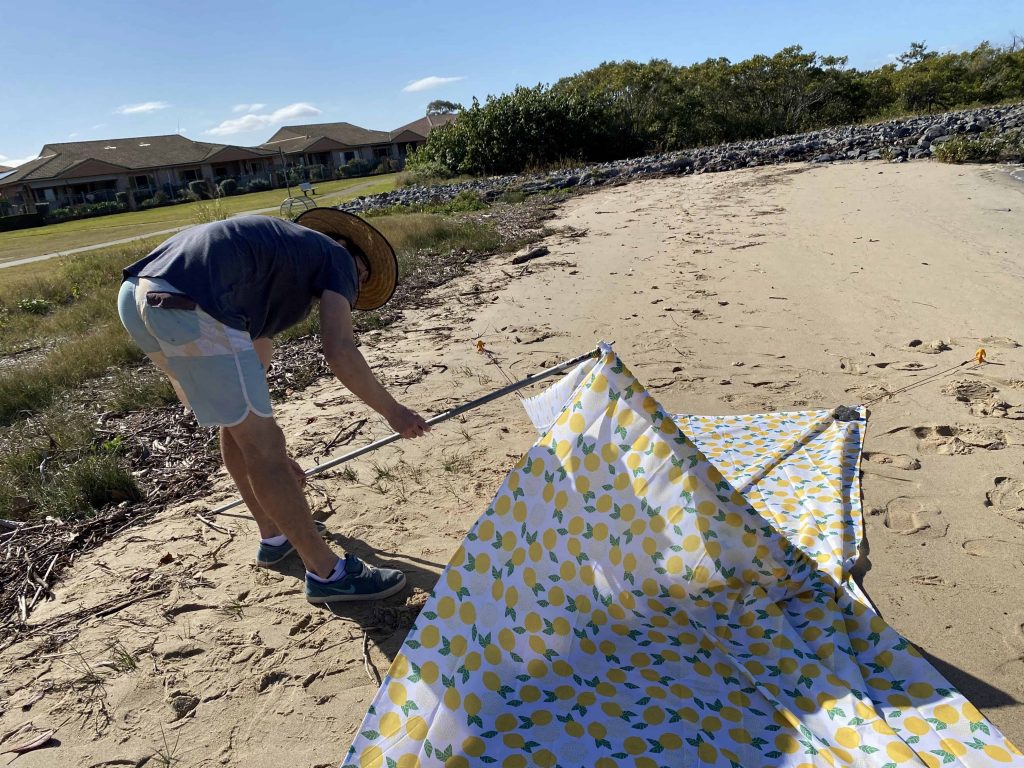
5. Tension the ropes so the shade cover is taught. You may need to adjust the position of the stakes.
Packing down and transport
You can bundle all the bits together and tie a rope around them to make everything easy to carry.
Beach shade hacks and tips
So you can learn from my attempt at a DIY beach shade, here are a couple of ideas that I might have done differently:
- As mentioned above, upgrading the central beam from pvc to aluminium will make things a lot more sturdy
- You could increase the level of shade by lining with another layer of fabric.
Thanks for reading! I would love to hear if anyone makes their own!